Candle Making at The Marketplace Co-Op
My six-year old daughter, Gigi, made a candle today at the Bowes Signature Soy Candle table inside the Marketplace Co-Op at Disney Springs. I can safely say we’ve found our new go-to personalized gift idea.

Let’s go over the basics..
- What is This? This is a make-your-own candle experience. Guests can select color, scent, design, etc. and make a decorative, and functional, candle to take home.
- Who can participate? There is no specific minimum age (we asked), but bear in mind that there are heat elements, strongly scented oils, and lots of glass here. A child who can sit still and take supervision will be fine, but this is definitely a no-fidget zone.
- Location. The Bowes candle table is located just in front of the Cherry Tree Lane shop in the Disney Springs Marketplace.
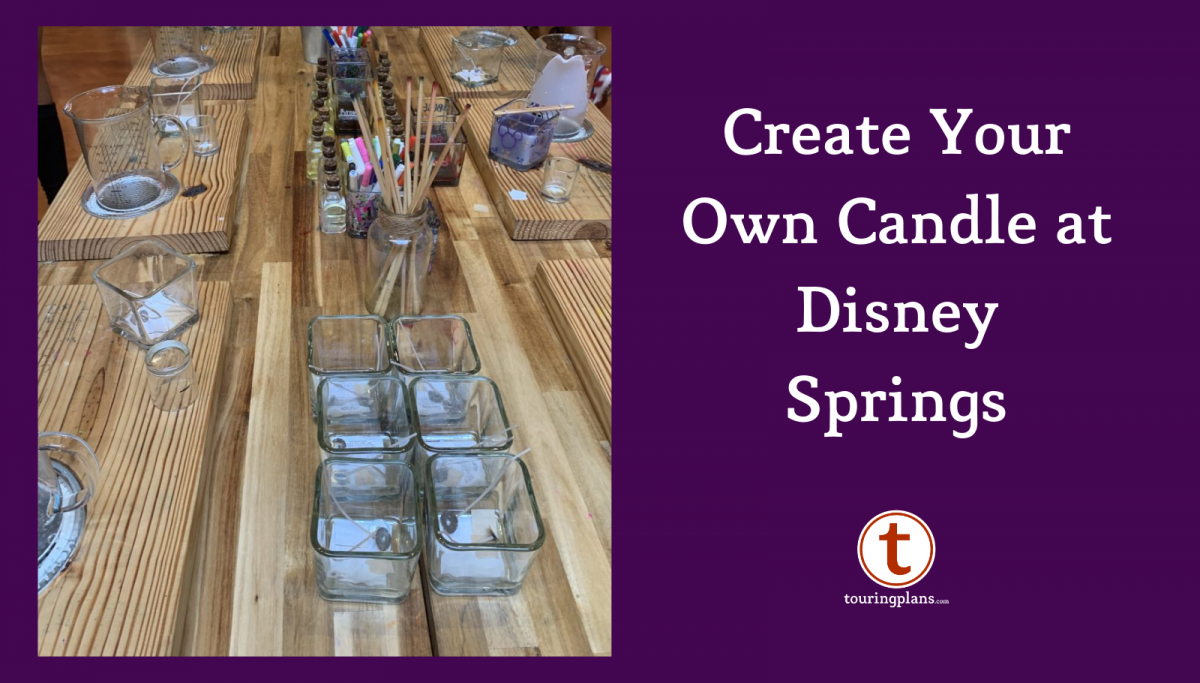
- What’s at the table? The candle making activity can accommodate 8 candle artists at once. Each station includes a large beaker on a warming tray (they warned us about this heated element several times), an empty candle holder, two wicks, two pieces of double-sided tape, a warning sticker that goes on the bottom of your holder, and a small beaker.
- Waiver. Parents or guardians must sign a waiver for anyone under 18. Adults are required to sign a similar waiver for themselves, if they are participating.
- Payment. The cost is $25 per candle if you use the square, glass holder included. You may forego the provided container and purchase a Disney mug on site. Most mugs run between $12 – $18, in addition to the $25 basic rate. A cast member staffing the candle table will escort you to a nearby register for payment and you will be told where to sit at the long picnic table/candle laboratory.
![]()
Since my daughter was doing this activity, she made all of the design decisions for her candle. First was the wick application. This entailed placing a piece of double-sided tape to the bottom of each wick and sticking it to the black dots handily pre-marked on the bottom of the container. Because my genius child has excellent coordination, she totally nailed this step. Yours will too!
Then it’s time to choose a scent. Scents may vary, but currently you can select from freesia, cool water, peach, cinnamon, cedar wood, lemongrass, mango papaya, vanilla, Seas the Moment, raspberry vanilla, outdoor pine, Egyptian sandalwood, or honeysuckle. You’re allowed to choose one scent or a combination of two. The gentle cast member handed my daughter every single bottle of oil, allowed her to smell each one, and asked her thoughts on each. She also had her hold two bottles at once so she could smell combined scents. Gigi settled on a beautiful combination of peach oil and raspberry vanilla oil, which the cast member instructed her to pour into the small beaker. The cast member encouraged her to pour equal amounts of each oil slowly and smell the mixture along the way to ensure she was happy with the final scent.

Wax color was her next big decision. There are 5 containers lined up down the center of the table with colored dye: green, brown, blue, and red. I won’t go into color combinations here, but rest assured mixing is encouraged. While Gigi settled mentally on a red candle, it wasn’t time to work with wax yet.


Glass decoration was up next. There are paint pens in several colors placed on the table. A “tester” candle holder is present on each side of the bench so pens can be tried out before using them on your art. This was another moment during this experience where I was conscious of not feeling rushed. Gigi worked slowly and the queen donut balloon she drew is some of her best work to date.


Then it was time for pouring the wax. Our cast member dispensed hot wax from a large vat into a smaller metal pot. She then poured some into the handled beaker on our table and placed it back on the warmer. Gigi was instructed to dip a dowel rod into the red dye and stir the hot wax, repeating until the desired color was reached. Our cast member showed her how to flick a bit of the wax against the beaker and place a paper towel behind it to see the color her candle would be when fully dried. After Gigi was satisfied with the deep pink color of her wax, the cast member instructed her to pour in the peach and raspberry vanilla oil and mix. Finally, the cast member secured the wicks in place and Gigi poured the wonderful smelling pink wax into the most precious candle holder in the universe.


Now we wait. We were told that we needed to leave our candle to dry for 30 – 40 minutes before it could be wrapped up and bagged. Candles can be left longer but should be picked up before the Co-Op closes for the day. If you cannot take the candle with you, I was told they could arrange for shipping.


The entire process took 48 minutes from my signature on the waiver to our final picture. We’re already making plans to go back with friends.
Does this sound like a unique souvenir that you’d want to bring home? Let us know what your thoughts are in the comments.
You May Also Like...
-

One of my favorite places to browse at Disney Springs is the Co-Op. This shop is a great mix of art,…
-

Exciting news! The shop, Sugarboo & Co has officially opened in the Downtown Disney District. This boutique will offer Guests the…
-

Disney Cruise Line's Disney Dream recently added a brand new shopping destination onboard, and to celebrate, you are going to want…
-

We love trying out the seasonal drinks offered at both Starbucks locations at Disney Springs. Throughout the year there are some…