Cooking in a DVC Kitchen: Quesadillas
In my family, we eat a lot of quesadillas. The same things that make this dish a quick and easy go-to for us make it an excellent choice for meals in condo or timeshare kitchens. But not all kitchens are the same, so today we’ll give a rundown of the different cooking methods so you can choose the one that works for you.
Just in case you are not familiar with the winning features of the quesadilla, here’s a review:
- The simplest version is bread and cheese as the starting ingredients, universally popular with the younger set
- Endless variations, and a terrific way to use up small quantities of leftovers
- Individually customizable for picky eaters
- Rapid cook time and low-mess
- Easy and straightforward — basic cooking skills are all you need.
The Basic Recipe
The minimal quesadilla is two flour tortillas and shredded cheese. Mexican blend, cheddar, monterey jack — as long as it melts, you’re good to go. What size tortillas? How much cheese? This is where it gets a bit tricky.
Tortillas come in 3 sizes: fajita (6-inch), burrito (10-inch), and taco, which varies from 5-8 inches. All of these can be used to make quesadillas, but the amount of cheese you’ll need varies with the tortilla size.

There’s also a personal preference factor in the cheese quantity. I like to use less cheese (about half as much) if I’m using other fillings, so that the flavors are better balanced. Others in my family like the same amount of cheese no matter what. I get about 8 to 10 6-inch quesadillas out of a pound of cheese. That’s about a third to a half-cup each.
Price-wise quesadillas are pretty cost-effective. They appear on several Disney World menus at prices ranging from $5.99 from a food truck to $23 for the Braised Short Rib quesadilla at STK Orlando. A quick online search of Targets local to Orlando puts a 10-pack of 6-inch tortillas and pound of shredded cheese in the $6-8 range. Of course, that’s before you get to any add-ins or condiments.
Beyond the Basics
 The options for add-ins are literally just about endless. A small quantity of leftover chicken, fish, or steak can be stretched into a meal for the entire family, especially if you offer individuals the opportunity to have different combos depending on what you have around. Chopped vegetables such as peppers, zucchini, mushrooms, or onions are also popular. One of my kids really loves to put leftover mashed potatoes in quesadillas.
If you don’t like your veggies crunchy you can pre-steam them a tiny bit in a microwave or saute them. And if adding meats or other proteins, it’s a good idea to have them at least at room temperature so that they heat up in the short time the quesadilla will be cooking.
Variety isn’t just for what goes into quesadillas. Common toppings are sour cream, guacamole, and salsa. Or, for a more salad-like experience you can sprinkle the top with shredded lettuce and chopped tomato.
Frying Pan
| Frying Pan Overview | |
|---|---|
| Pros: |
|
| Cons: |
|
| Best for: | These are just the best, unless you can’t afford to spend time in front of the stove or don’t have one. |
The frying pan is the most common method of cooking quesadillas, and the cheap non-sticks found in many vacation condos are perfect for the task. If you have a griddle you can do more than one at a time, but at only 4-5 minutes per go it’s not usually a big deal unless you’re making a really large quantity.
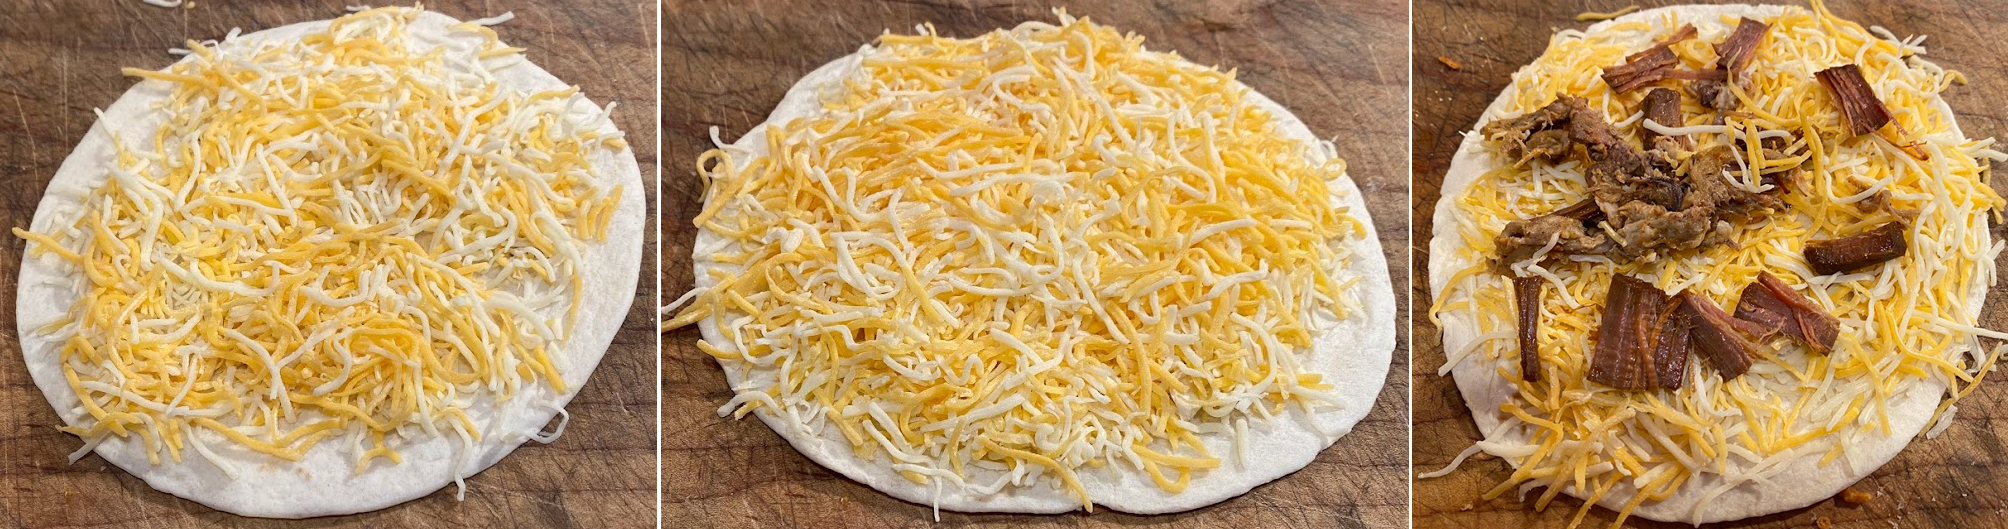
Lay a single tortilla on a plate or cutting board, and top with cheese. Add any additional ingredients on top and cover with another tortilla. Some people like to put half the cheese under and half the cheese on top of the add-ins, but I don’t find this is necessary as long as you don’t overload it.
If you have it, put a tiny bit of oil in the bottom of the pan and turn on the heat to medium. The oil isn’t necessary and even if you have it you’ll only need it for the first one, but it does help with crisping. When the pan is warm, place the quesadilla in the center and cook for about 2 minutes; you may see the cheese around edges begin to sizzle.
Place your fingertips on top of the quesadilla and slide a spatula underneath to turn it. Don’t worry if some cheese or toppings fall out the side; just lift the top edge and shove them back in with the spatula. After another couple of minutes, your quesadilla is ready to go.

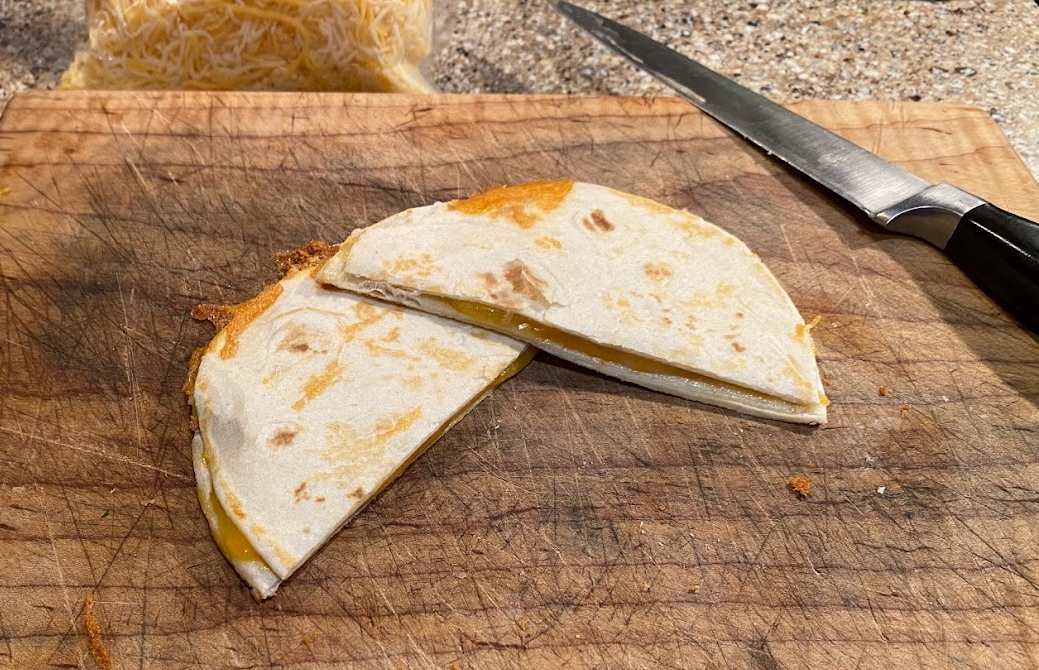
The finished quesadilla below was cooked for 90 seconds on each side. That’s about the minimum to be sure that all the cheese is melted, longer cooking to increase the brown-n-crispy factor is a matter of taste.
Microwave
| Microwave Overview | |
|---|---|
| Pros: |
|
| Cons: |
|
| Best for: | A quick snack before naptime, or if you don’t have access to a stove. |
I admit, I had never used anything but a frying pan to cook quesadillas before, so I searched several microwave recipes before trying it. The good news? It’s really fast. The bad news? It made the worst quesadillas out of the three methods I tried. More good news? If you’re just trying to quickly get a snack into a hungry toddler before naptime, they may not care.
Most recipes agreed that cook time should be somewhere between 45 and 90 seconds, so I started with 45. I got a quesadilla that was perfectly functional, but with tortillas that were still soft — the outer surface hadn’t dried out and crisped like you get with a pan tortilla. They tasted good, but for me that crispiness is a defining factor of the quesadilla.
Not deterred, I tried a trick that a few recipes had mentioned: spreading a little oil on the top tortilla to help with browning. I used a very small amount of oil, but I still needed to cook this one for closer to 2 minutes before the top tortilla was completely cooked with no visible oil.
The result? The outside of the tortilla did get dry, but not in a good way. Less of a “yummy brown crispy food” texture and more of a “no moisture left flavorless sawdust” texture. The cheese was a bigger problem: the longer cook time meant that after the quesadilla reached room temperature the cheese was rubbery. It was noticeable enough that I wouldn’t eat it, and I wouldn’t feed it to anyone I loved, either.
My recommendation? You can try out this recipe that oils both sides of both tortillas and cooks them separately on a microwave bacon rack to prevent steam from interfering with crisping, before combining them with the filling for a last round in the nuker. Or you can do what I would do and use the microwave without hesitation if you don’t have a stove: even if the tortillas were soft the food still tasted pretty good.
Oven
| Oven Overview | |
|---|---|
| Pros: |
|
| Cons: |
|
| Best for: | When you need to get ready or prepare sides while the quesadillas are cooking. |
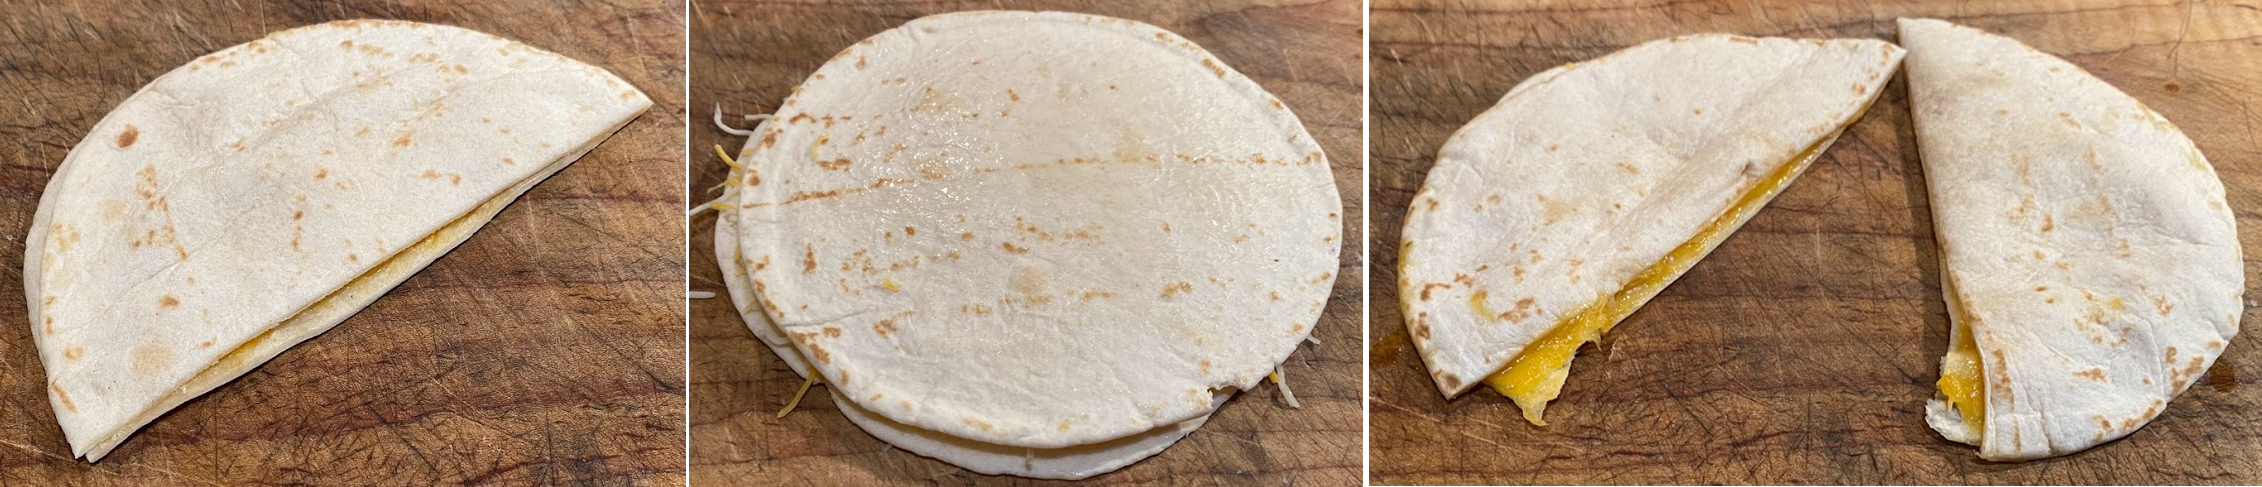
I started my oven-cooked quesadilla journey on Google, just as I had for the microwave. A large number of recipes agreed that you should brush the top tortilla lightly with oil, then cook at 425º F for 8 minutes on each side. You know those stories about how one person in the class got an answer weirdly wrong on a test and then the teacher caught all the cheaters because they got the exact same weirdly wrong answer?

Above you can see the quesadilla I got when I tried that — and I only left it in the oven for 8 minutes (instead of 15) because it was so obviously going badly. But, you know, the proof is in the eating, right? Ladies & gents, I can report that I have tasted this quesadilla, and I have saved you from ever having to taste a quesadilla made this way yourselves. You’re welcome.
However, all was not lost. I tried again at a lower temperature and for less time. Cooking at 350º F for 5-6 minutes on one side and 2-3 minutes on the other produced a quite tasty quesadilla, although a little on the pale side. I still preferred the ones cooked in the frying pan, but to be honest if I put sour cream or salsa on it I might not have known the difference.
Are quesadillas part of your quick-eats toolbox? What’s your favorite tip for cooking them? Let us know in the comments!

You May Also Like...
-

Some people hold that if you're cooking then it isn't vacation. Others (like me) feel that eating out thrice a day…
-

Bullseye: He's Woody's horse, he's a smart one, and he has joined a collection of Disney kitchenware available at Disney Springs.…
-

We're all spending more time at home and in the kitchen nowadays. At Disney Springs we spotted a new Disney Kitchen…
-

Raise your hand if you're spending more time than ever in your kitchen? Whether you're making more home-cooked meals or simply…
Hi Sam – yes, we do a similar thing and it’s so convenient. I think ours is a little smaller though (mostly spices and a few condiment packets) because we’re often flying with it.
We keep a ‘camp bag/bug out bag’ for travel, cabin camping and power outages. Basic stuff: Herbs and spices, Salt, Pepper, little squeeze bottles of cooking oil. vinegar, good olive oil. Canned goods (soups, hash, etc)
Utensils, Paper Plates, Cups, wine, sake, and SOY SAUCE. And a steamer basket. And more stuff that collects in there.
All this goes in a large ‘tupperware’ container that’s about 3 feet long.
So, when we do a car trip, or travel. We have can just grab and go.
Check the camping supply area of the local walmart for squeeze bottles…or the dollar store.
What a fun little series.
Thanks mikw!