Disney It Yourself: Park Map Coasters
Today, I have an easy and affordable Disney DIY to share with you all: Disney map coasters!
Pull out those park maps (I know you grabbed one of each as a souvenir. I do the same thing everything time I visit Walt Disney World.), and let’s get crafting!
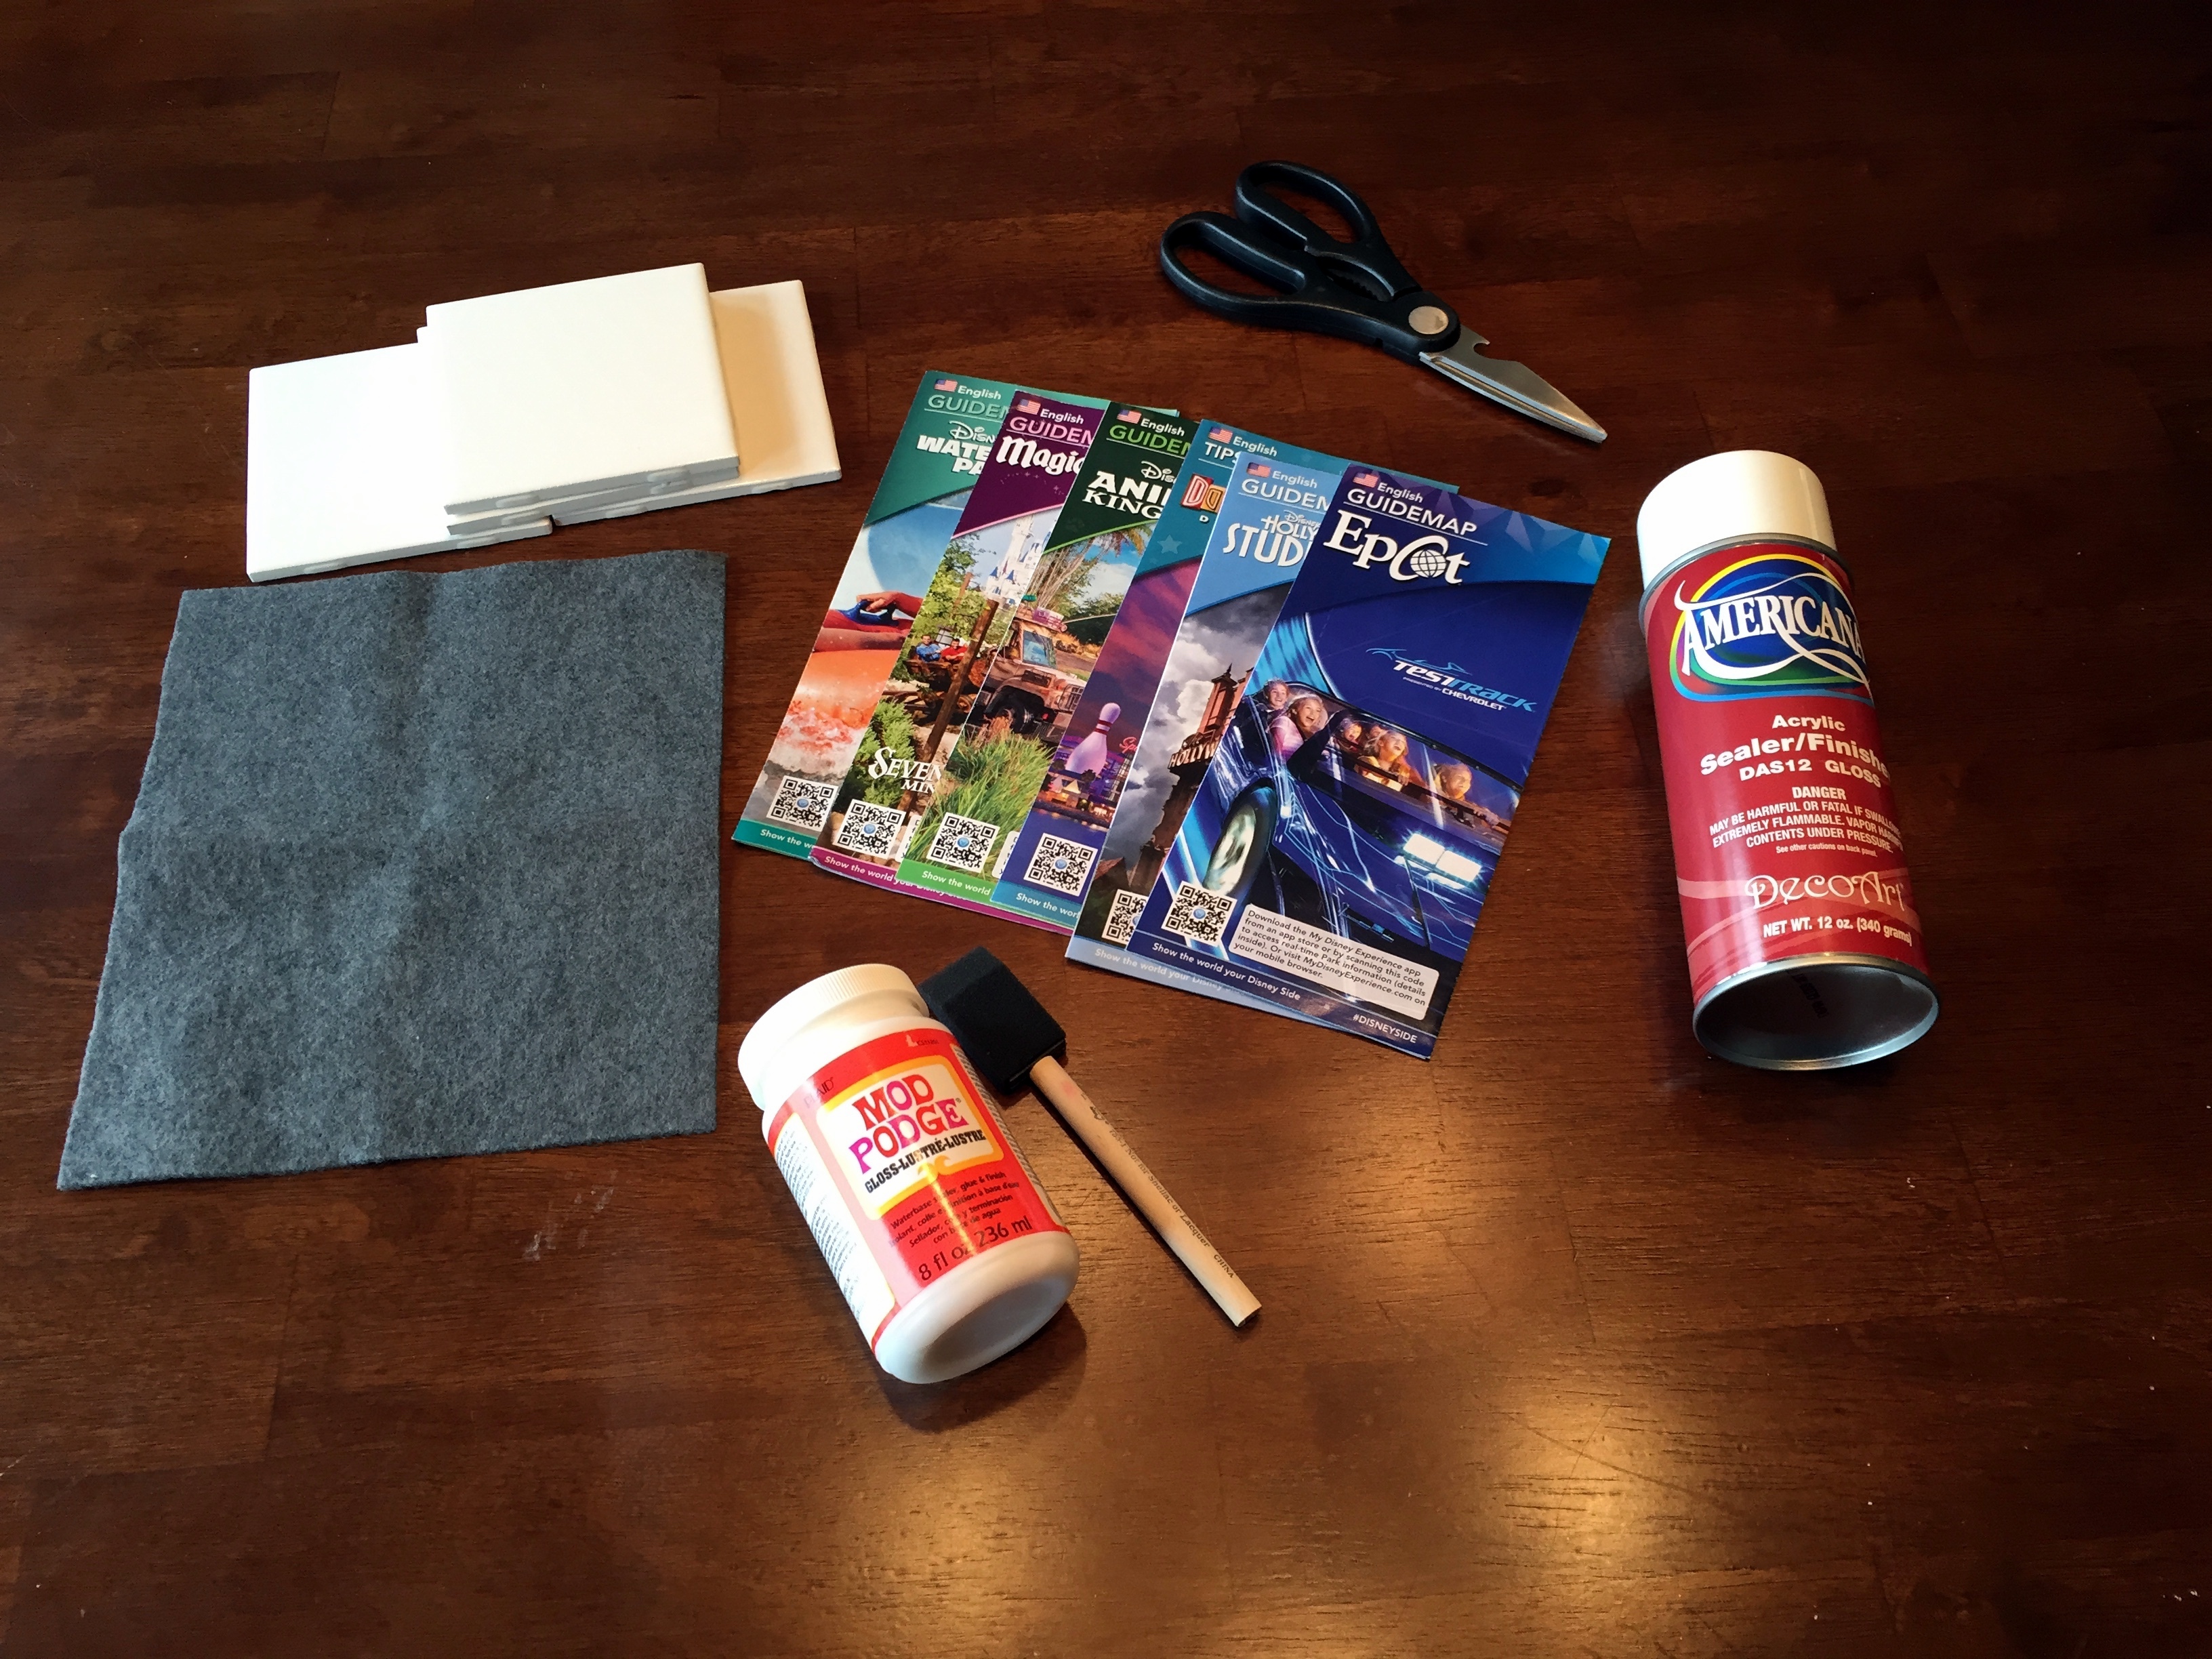
Here’s what you’ll need:
- Scissors or an X-acto knife
- Ceramic Tiles (I bought 4)
- Sponge paint brush
- Felt
- Mod Podge
- Acrylic sealer spray
- Pen or pencil
- Disney park maps
I bought my coaster tiles at Home Depot where you would find the bathroom or back splash tiles. These are so cheap! For the four tiles, I paid about fifty cents.
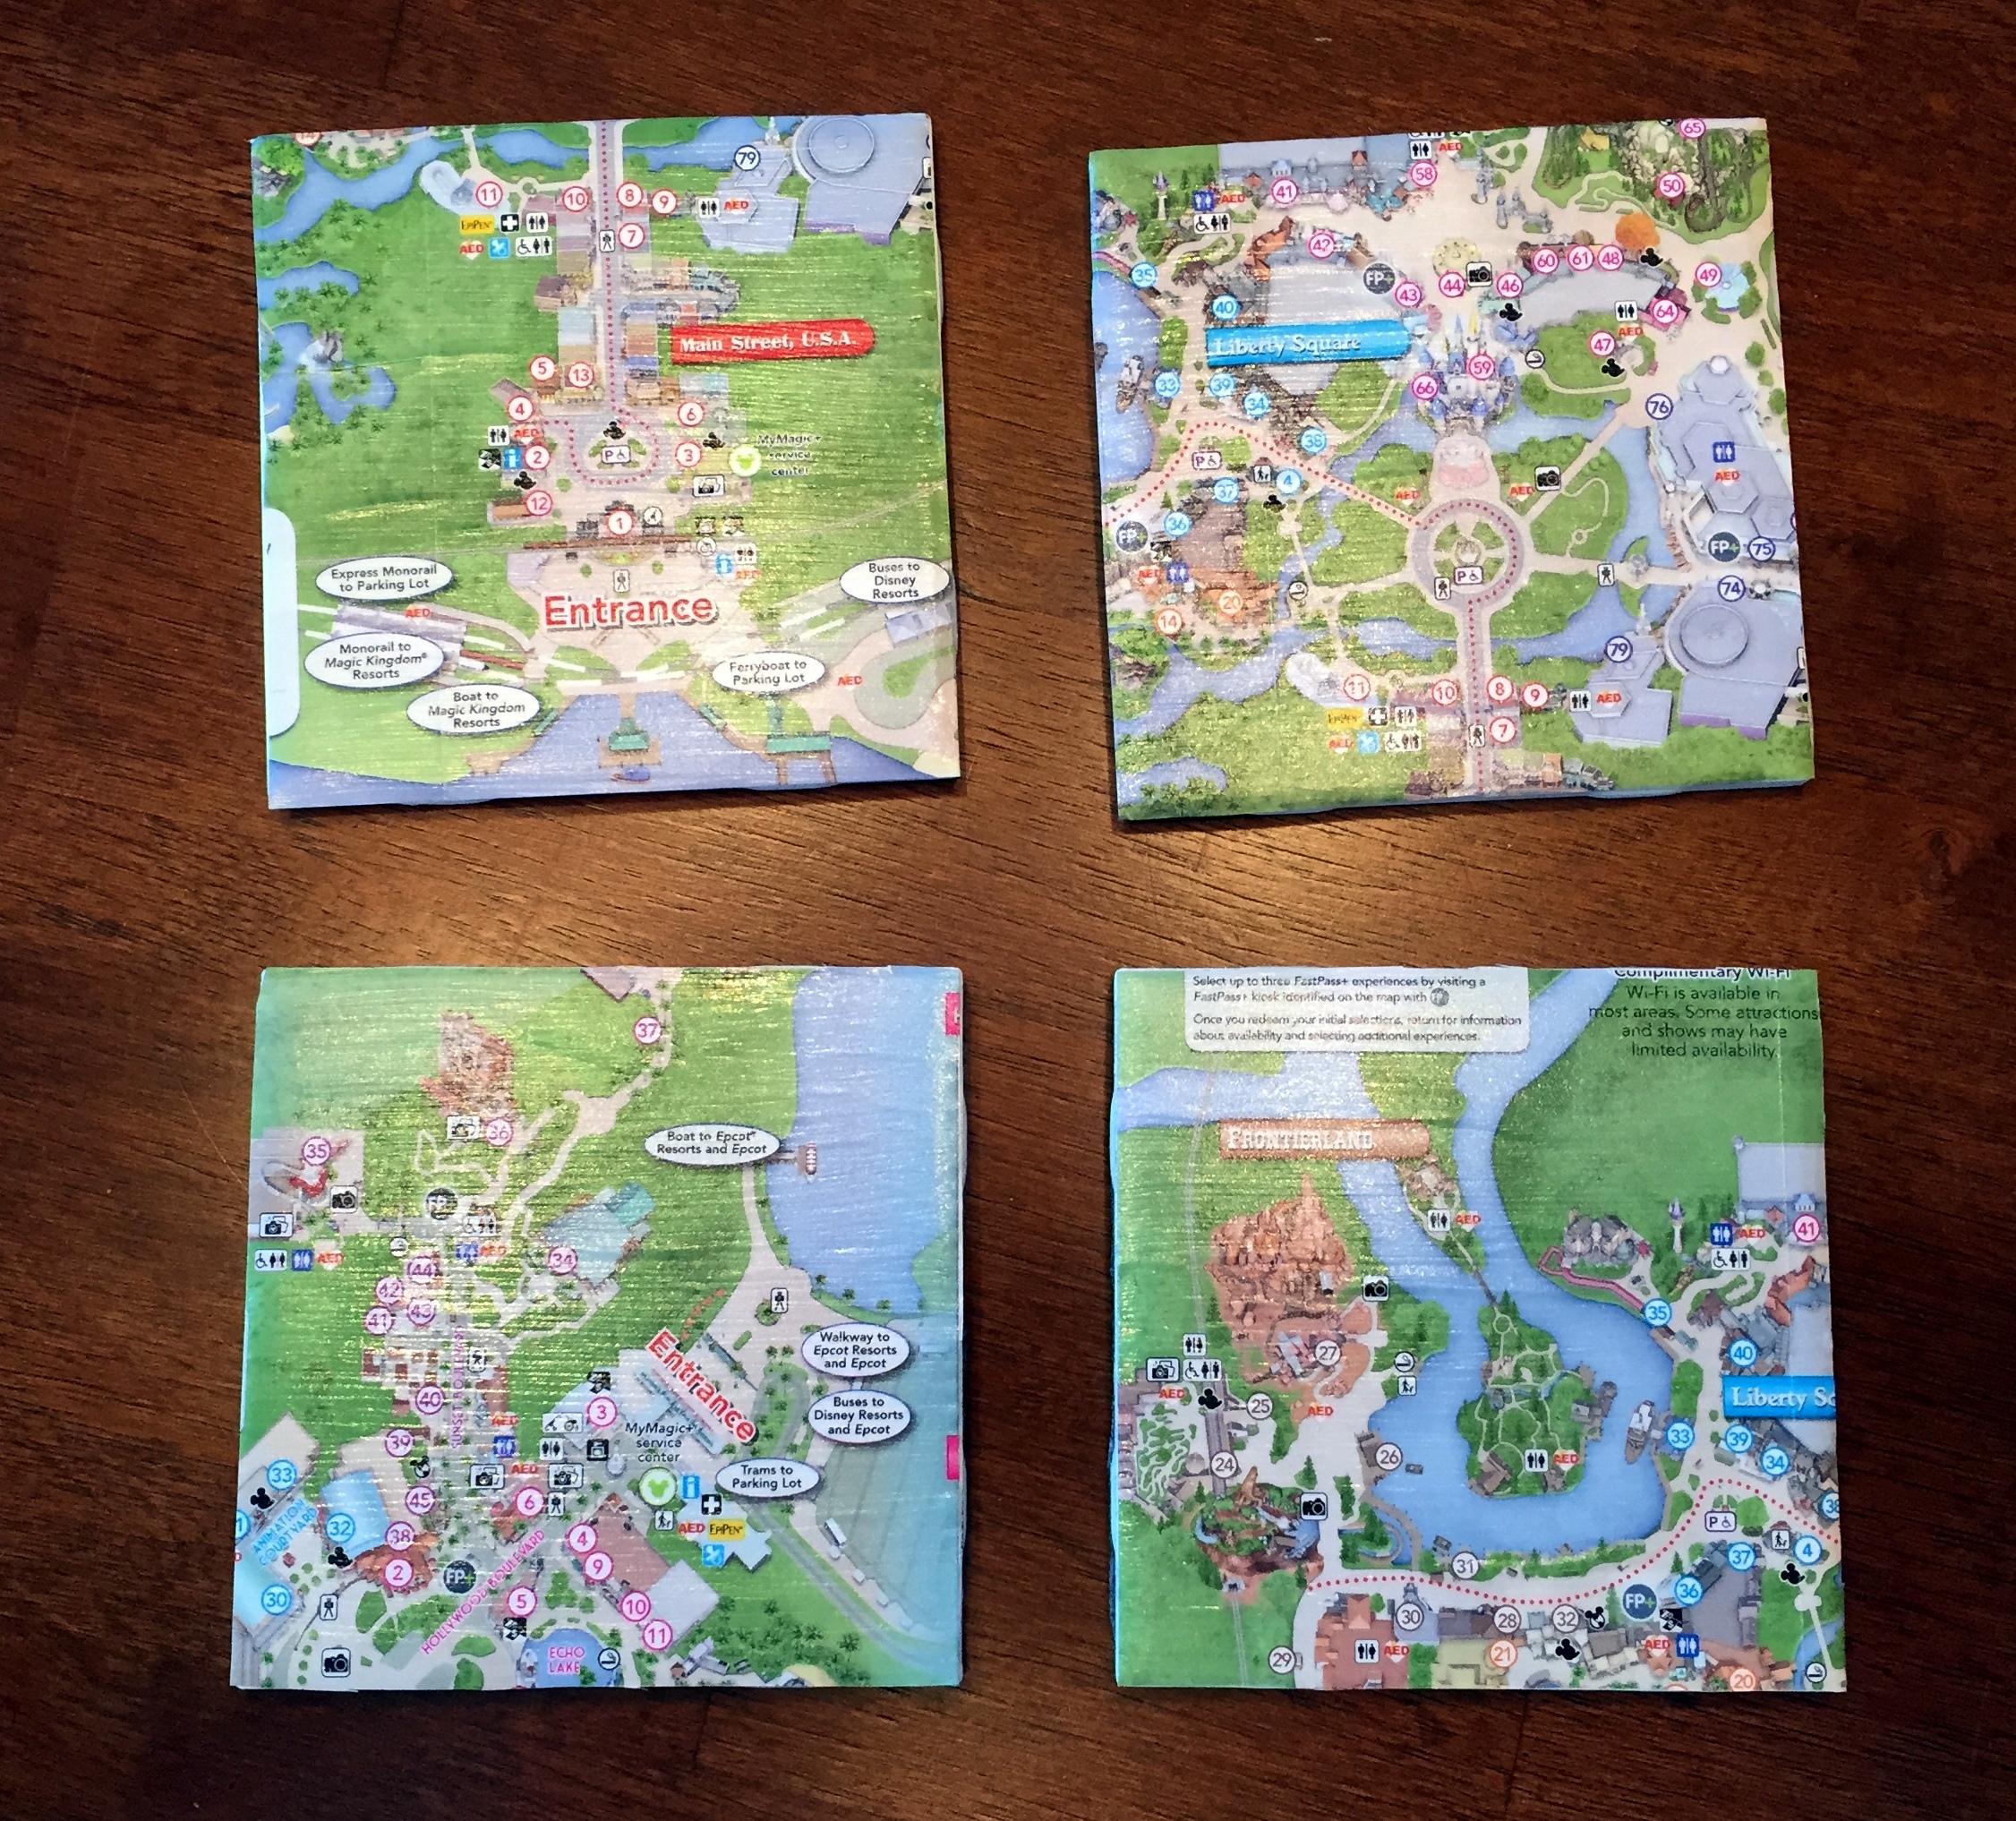
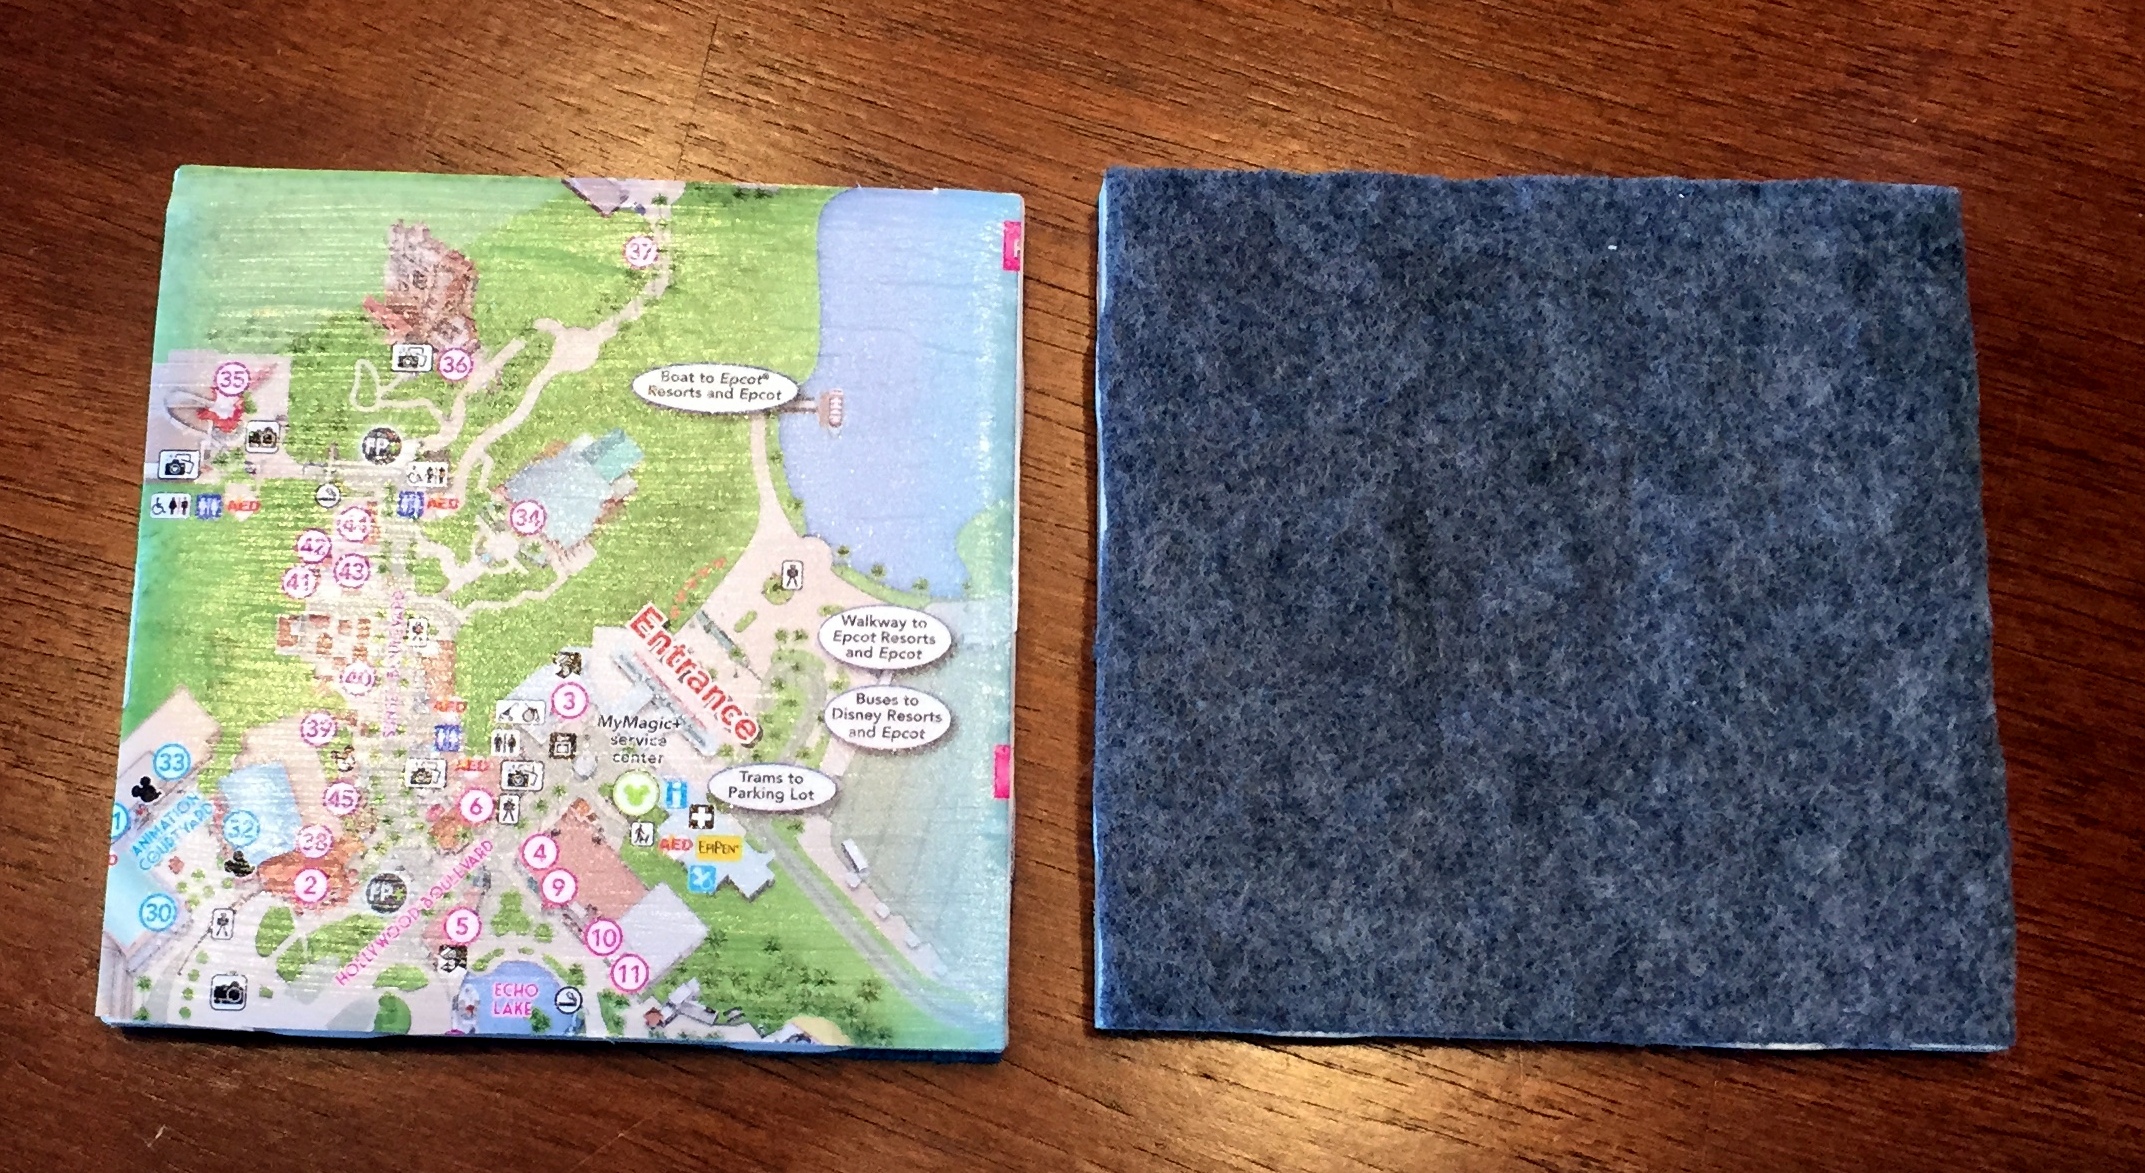
The felt, Mod Podge, sponge paint brush and acrylic sealer can be found at a craft store such as Michael’s. Insider’s Tip: Buy more felt than you need just in case you make a mistake.Spread your map out flat and place a tile on top. I used maps from Magic Kingdom and Hollywood Studios.

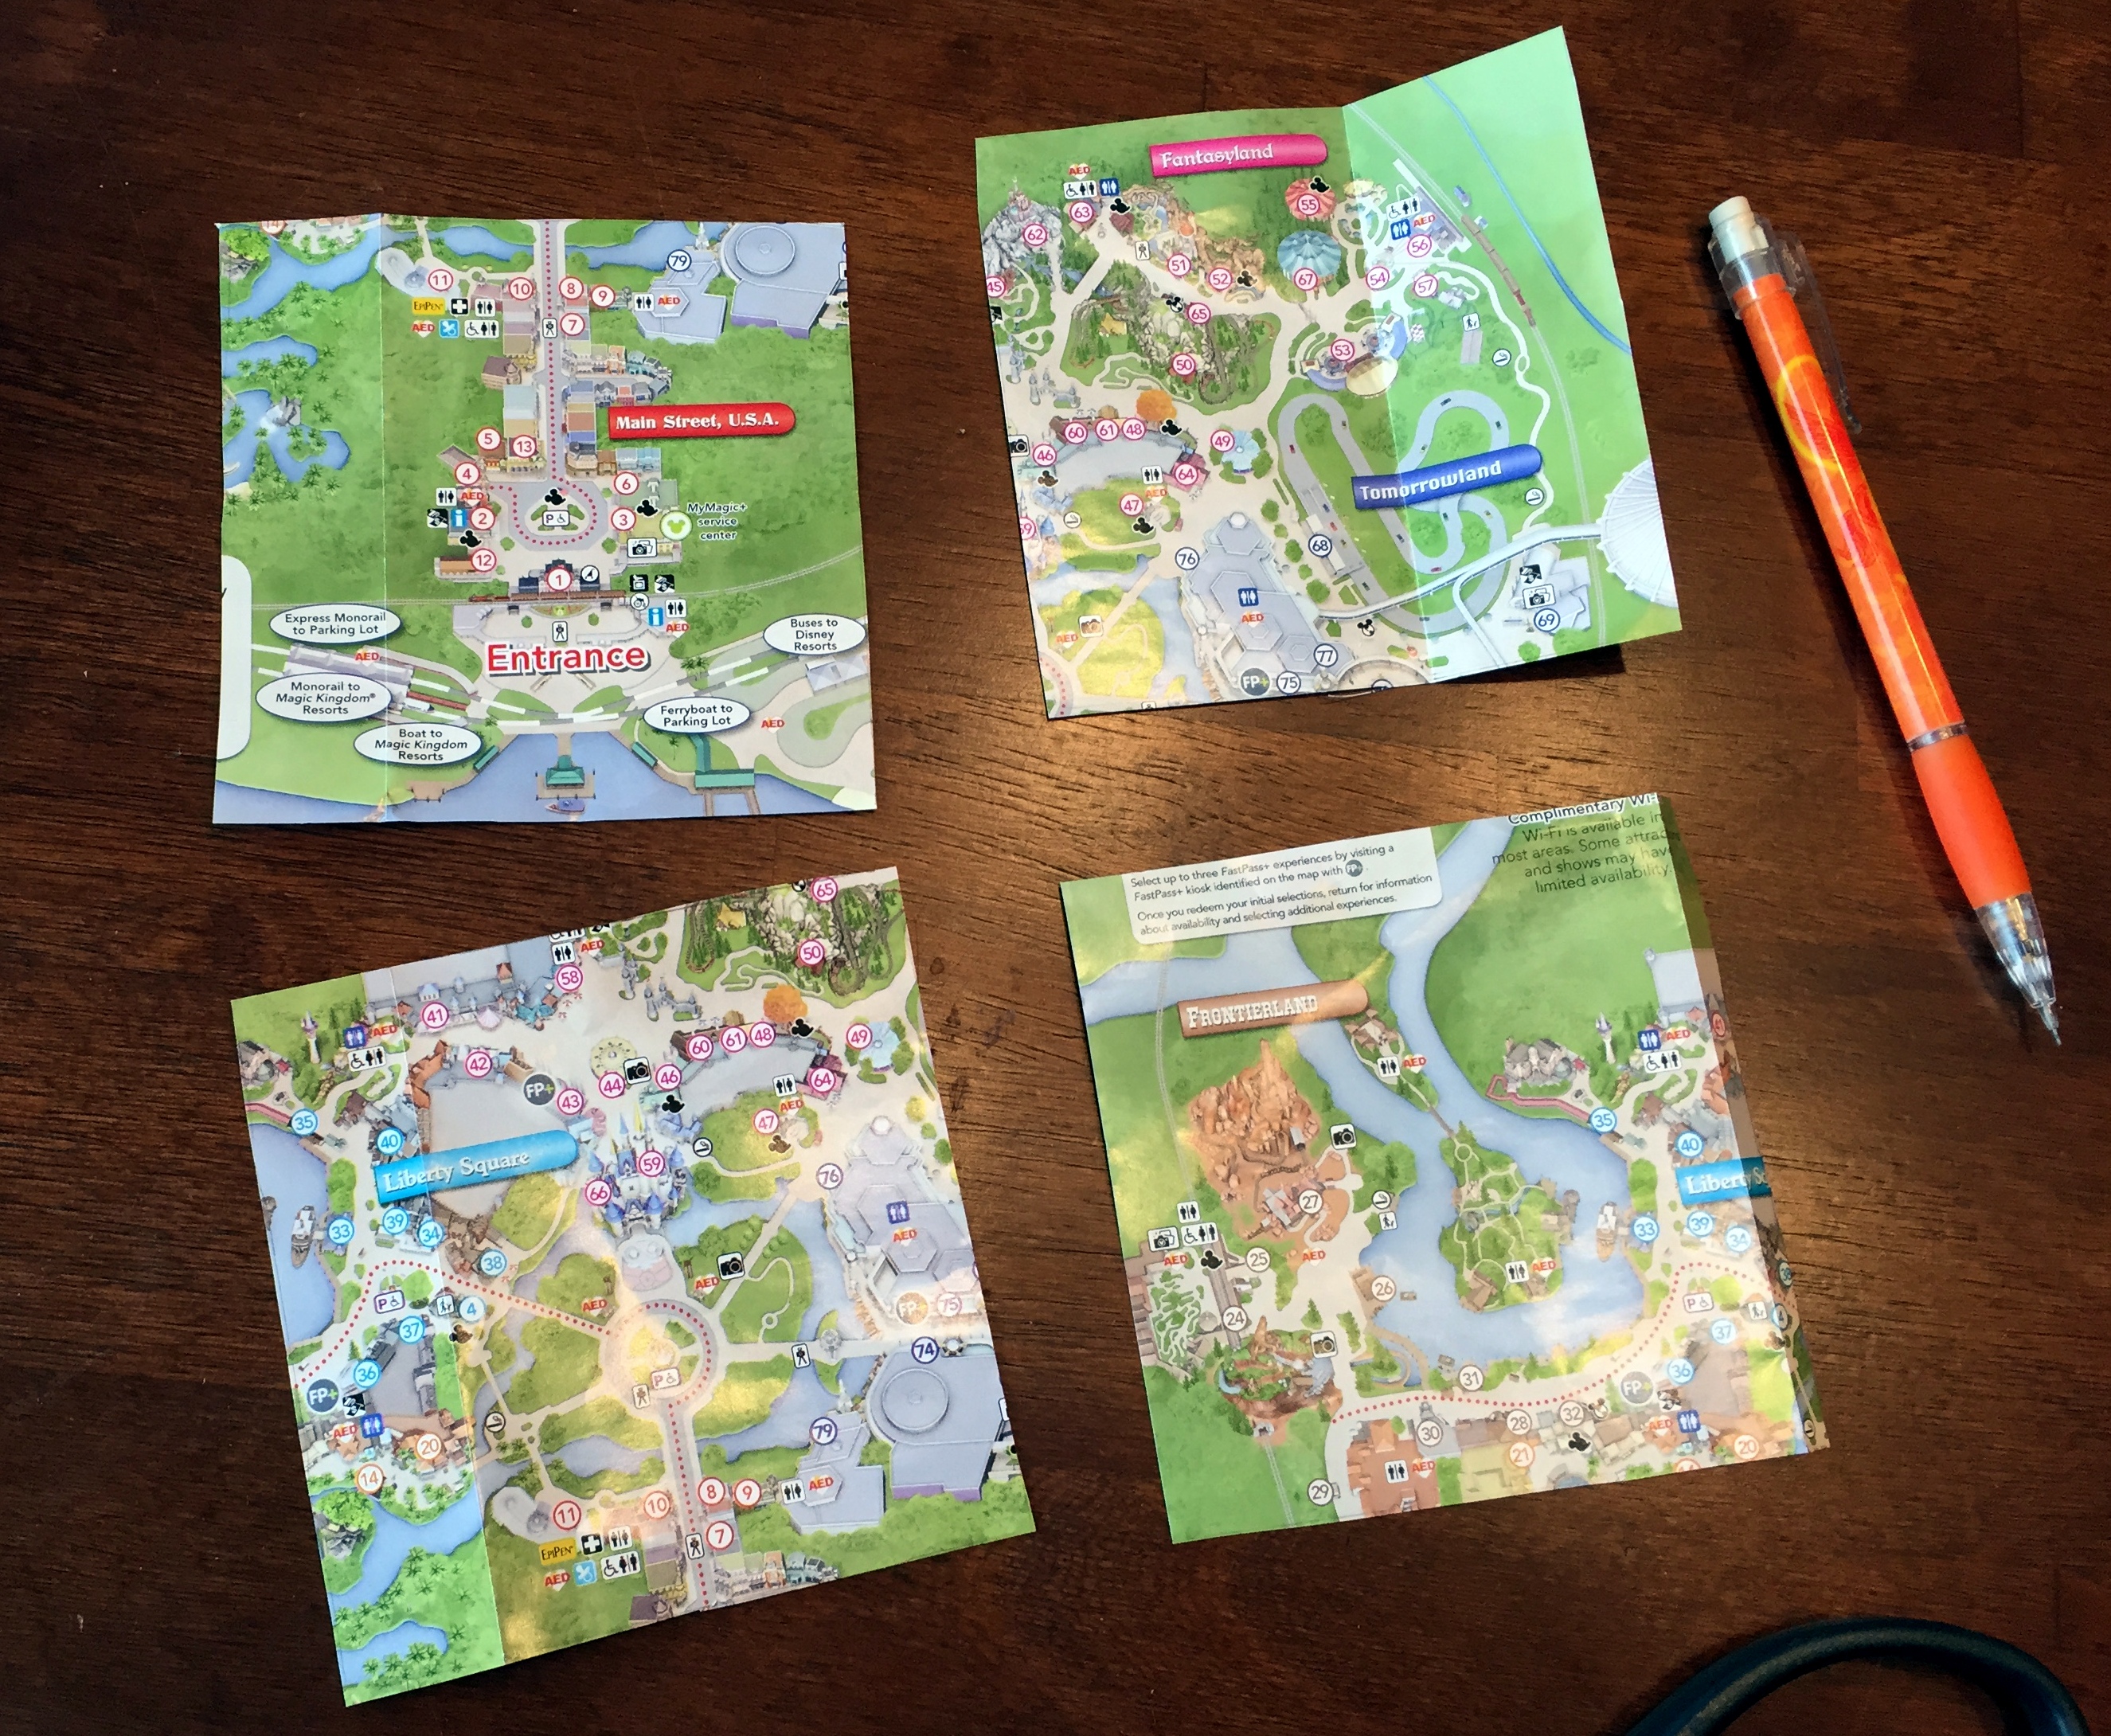
Take your pen or pencil and trace the outline of the tile on to the map. Have an extra map handy if you want all four tiles to be the same park. Cut out what you’ve traced.
Using your sponge brush, apply a layer of Mod Podge to the top of your tile and attach your map square. Use your finger to smooth the map square flat as air bubbles might pop up. I did get a few air bubbles on my tiles, but they were much less noticeable after I sealed the coasters with the acrylic spray. To prevent the edges from popping up, place a heavy book on top while it dries.
Apply 2-3 more coats of Mod Podge to the tile, waiting in between for each layer to dry. After your coasters dry, place one on top of the felt and trace the outline. Cut out felt pieces. It helps to cut the felt a little bigger than you need to make sure it will fit.
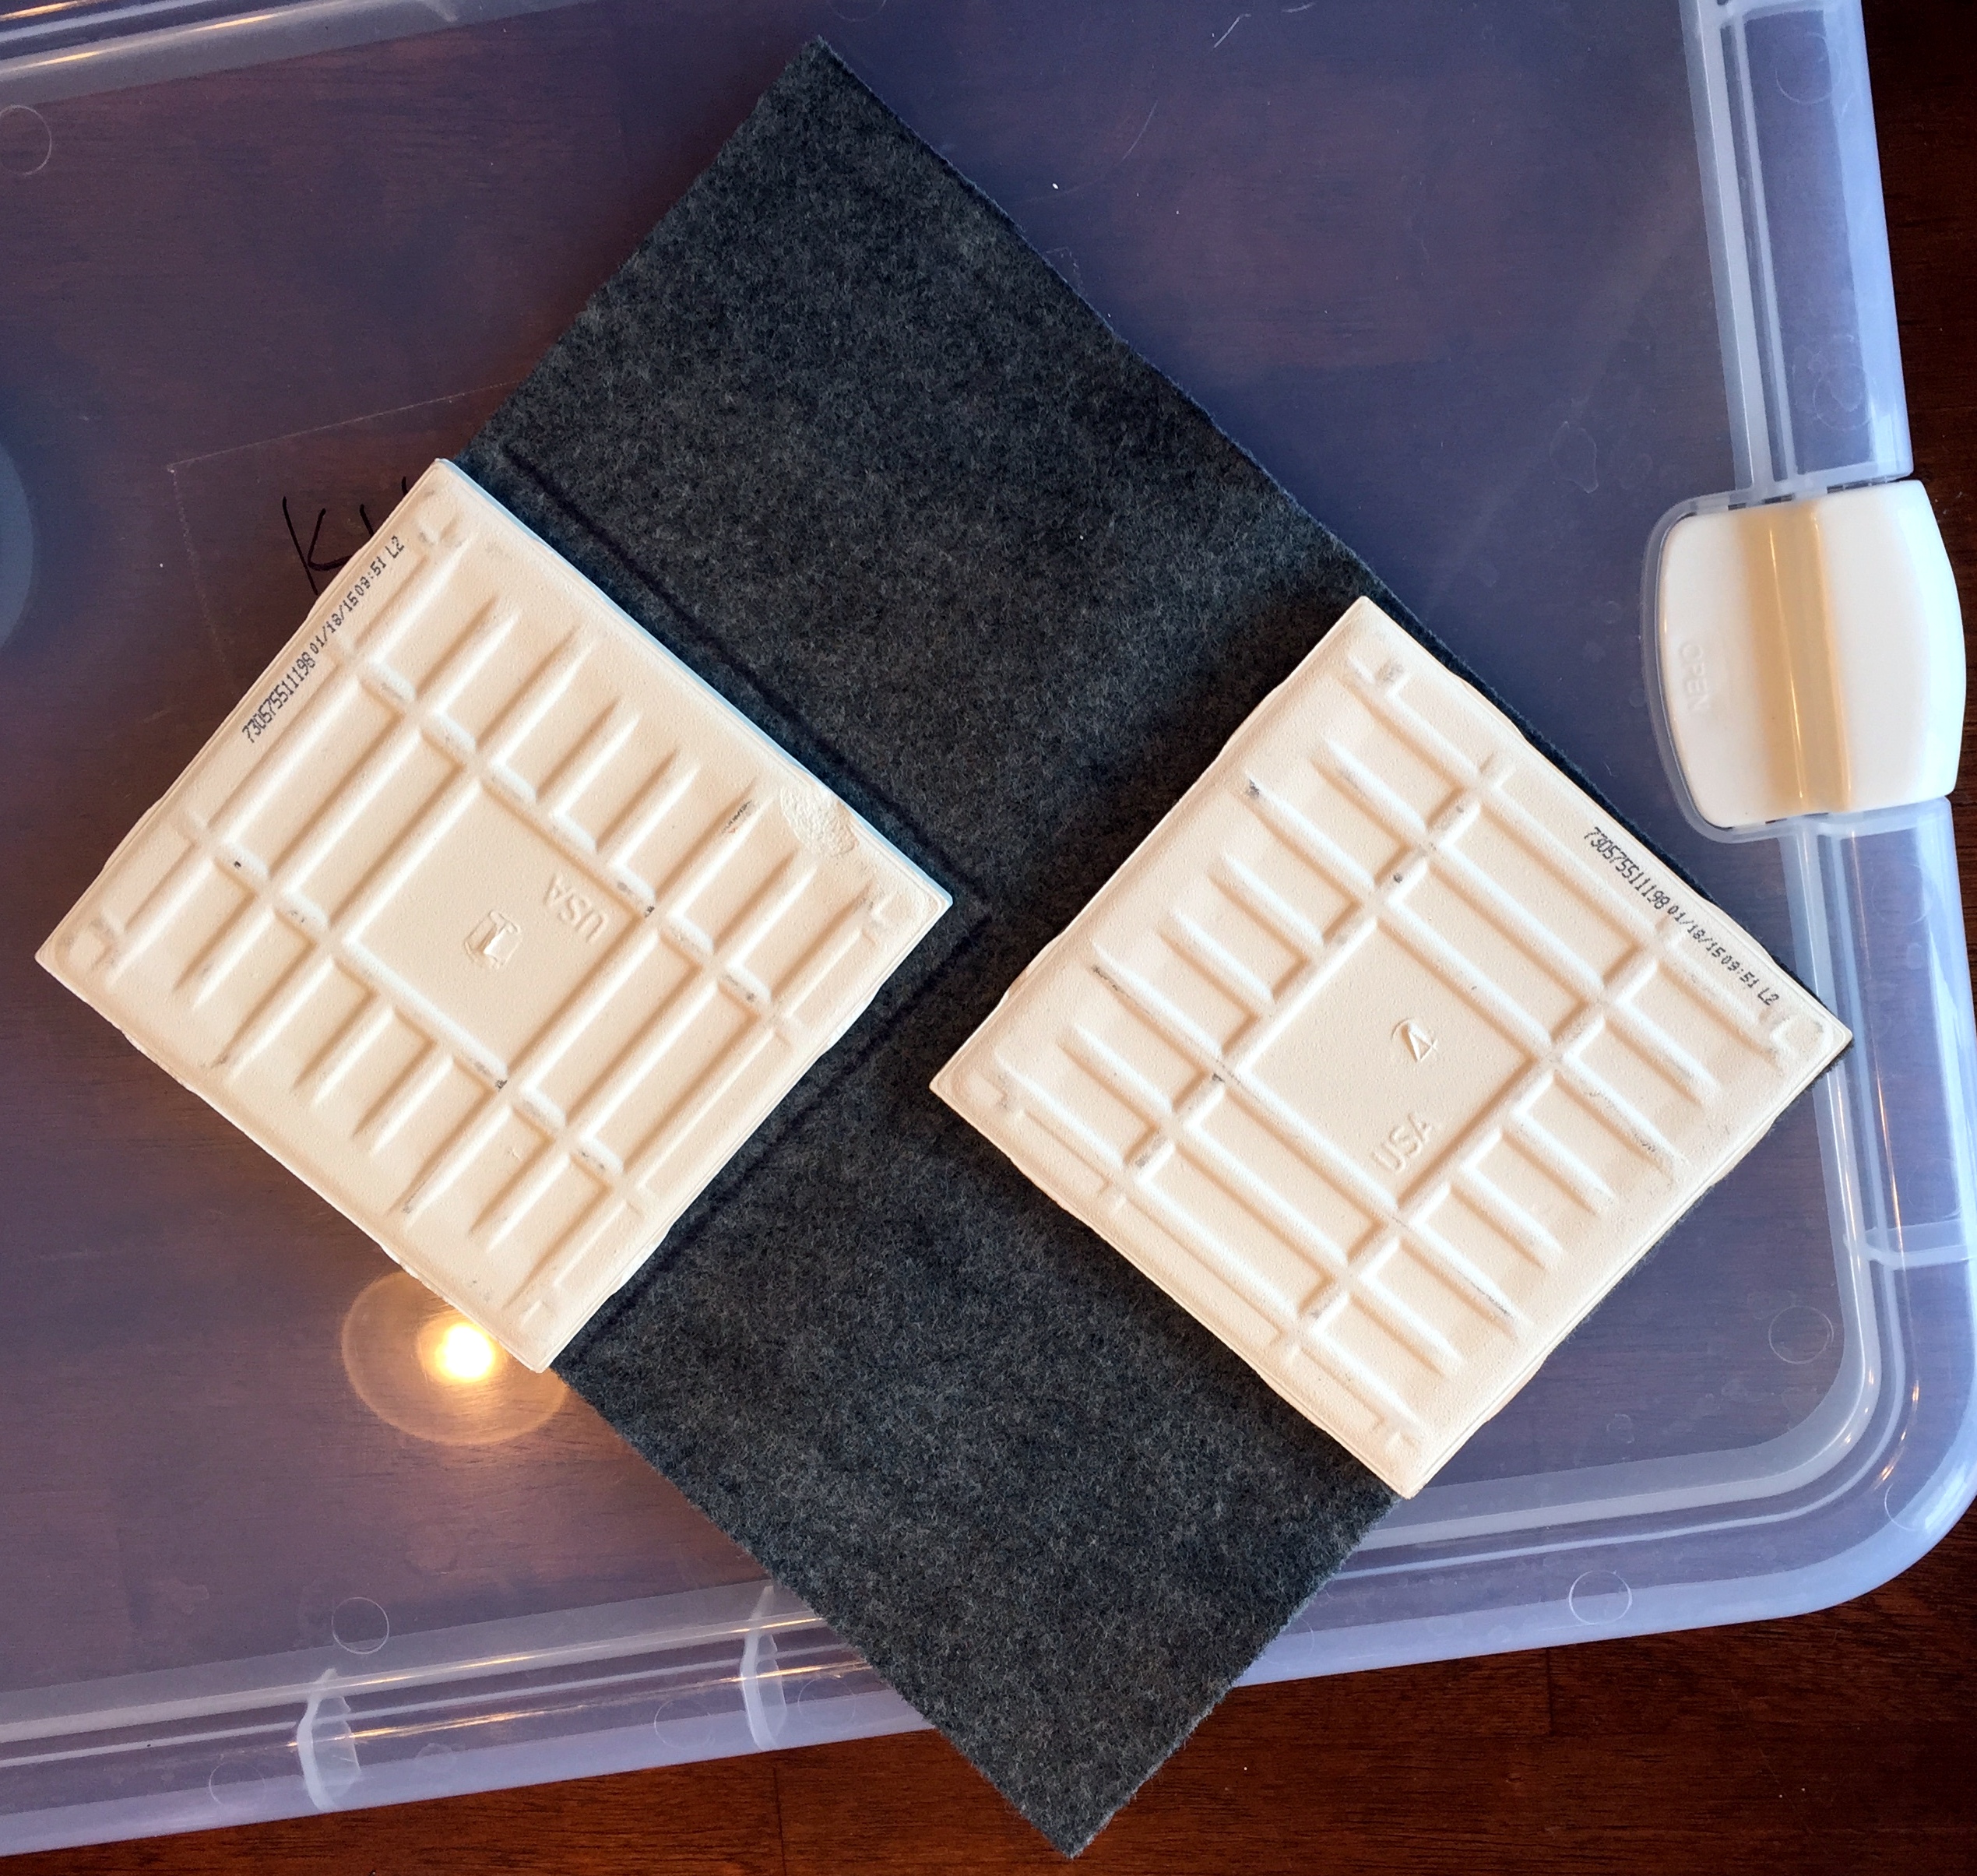
Apply the Mod Podge to the bottom of the tile and attach the felt.
Once that dries, take your tiles outside and spray two coasts of the acrylic spray. Allow time to dry for 24 hours. Take your scissors and trim any extra map or felt to size and Voila! Your Disney map coasters are done!

Stack, tie together with a ribbon and give these as a special gift to your fellow Disney buffs….or keep for yourself. Either way, these Disney map coasters are simple, practical and a great way to display your Disney side!
Would you make these coasters? What should I do for my next DIY project? Let me know in the comments or on Twitter @AngelaDahlgren!
You May Also Like...
-

When I first saw the Disney Park Pals, I was so confused. What do they do? I thought to myself. I asked…
-

Disney continues to offer new merchandise with a rainbow color scheme. This rainbow Mickey fleece is $39.99. We've seen it in…
-

Disney has launched a new collection of merchandise that features icons of the Walt Disney World theme parks, and for any…
-

In addition to Walt Disney World park maps from 1989, my recent attic purge also unearthed some photos from that same…
Great Idea!! it works 🙂
Nicely done! Thanks for the idea.
I have done this several times for FE gifts on the DCL. You can also buy adhesive felt and Disney scrapbook paper. Makes a cute gift.
Kristyn,
I’ll look for adhesive felt next time I go to the craft store. It sounds like it would make this project even easier!
Thanks for reading!
Angela
I love this idea! My next trip is in October to the Food & Wine festival, and I’ll definitely be bringing back some extra maps for this project. I’m leaving for a Disney Bahamas cruise next week and will be looking for something on board that I can use also!
JoAnn,
Have fun on your Disney cruise! It’s on my bucket list. 🙂
Angela
I love this!!! Thanks for the idea!
Rachel,
Hope it works out for you!
Thanks for reading. 🙂
Angela
Great idea! Would love more articles with similar projects!
Sarah,
I’ll get crackin’ on some more Disney crafts for you!
Angela
What a great idea, but those are almost too cute to cover with cups or glasses! I’m going to bring home a few extra maps when I go in May to create these!
Love it and thanks for sharing the idea!
Marie,
Have fun on your Disney trip and thanks for the comment!
Angela
Omg. What an awesome idea. I’m totally going to do. I’m a scrapbook so I always have a ton of maps left over. I like the felt but I’m thinking I may use cork instead.
Angela,
Cork is a great idea. I’ll try that next time!
Angela
Great idea!!! I am saving so I remember my next time I go
Stephanie W.,
Post a picture on my twitter (@AngelaDahlgren) if you make them. I’d love to see!
Angela